

WooCommerce: How to disable product counter in the product category headers.
Setting off to start our own website we were never planning on doing any real programming and here I am supplying you with a CSS code snippet to disable the product counter for WooCommerce Product Categories.

Now I must warn you that I did not create this code and you can find the source of my information in the reference section of this post at the bottom of of the page.
However, in the spirit of getting the free things for free, I have decided to create a compilation of all the little queries I have ever had to setup and configure my website in one place. I can totally stand over every method covered in my blog and have personally checked out the sources. I am only covering the methods that actually worked for me. Do drop me a line if they are (or not) working for you!
Today I will talk about one small issue I spend almost entire week battling with. This small issue was driving me literally over the bend because it really is very small. The problem I had was that my shop page had product category pages set up in such a way that is showed how many products there was in each category.
That in itself was not a big problem, but the number was set in black (as opposed to a grey header colour) and had bright yellow background.
If you go to www.soapsandroses.com you will see, that we are using a minimalistic masonry theme with very little colour in the theme itself. This is to make sure that nothing distracts from our paintings.
Clearly having a bright yellow background for any of the headers was irritating in the extreme. Nor did I actually want to show how many individual products are in each category.
So I set out to figure out how to change the WooCommerce categories headings such that they do not show the number of products in each category.
For those of you who have some idea of how to work with CSS, the solution was to insert the following custom CSS code into the “Additional CSS” tab in the customizer menu on WordPress:
.product-category mark {
display:none;
}
For those of you who would like to dig a little deeper or need a more detailed description of how to customize your online shop, you can read the rest of the post. It covers the various steps I followed to customize headers for my WooCommerce product categories.
After much research I decided that the best course of action would be:
- Create a child theme based on my current WordPress theme.
- Use custom CSS section in the customizer within WordPress to hide the number of products
Creating a child theme in WordPress
A child theme in WordPress is a customized theme used for a specific project that is based on the main theme.
There are several reasons for creating a child theme rather than customising the main theme. The main ones are:
- The main themes are often updated and the customisations maybe lost in the updates. The chid theme would use the new updated version of the theme and then apply the customisations irrespective of the changes to the original theme.
- All of the customisations are kept in the child theme and are easy to track, edit or disable.
- It’s generally best practice in web development and we all want to do the best, right?
There are two main ways of setting up a child theme:
- Manually
The manual process of setting up a child theme is well described in the WordPress documentation. While it is well described, I felt it required at least some programming experience to implement and therefore I followed the less technical way.
- Using a plug in
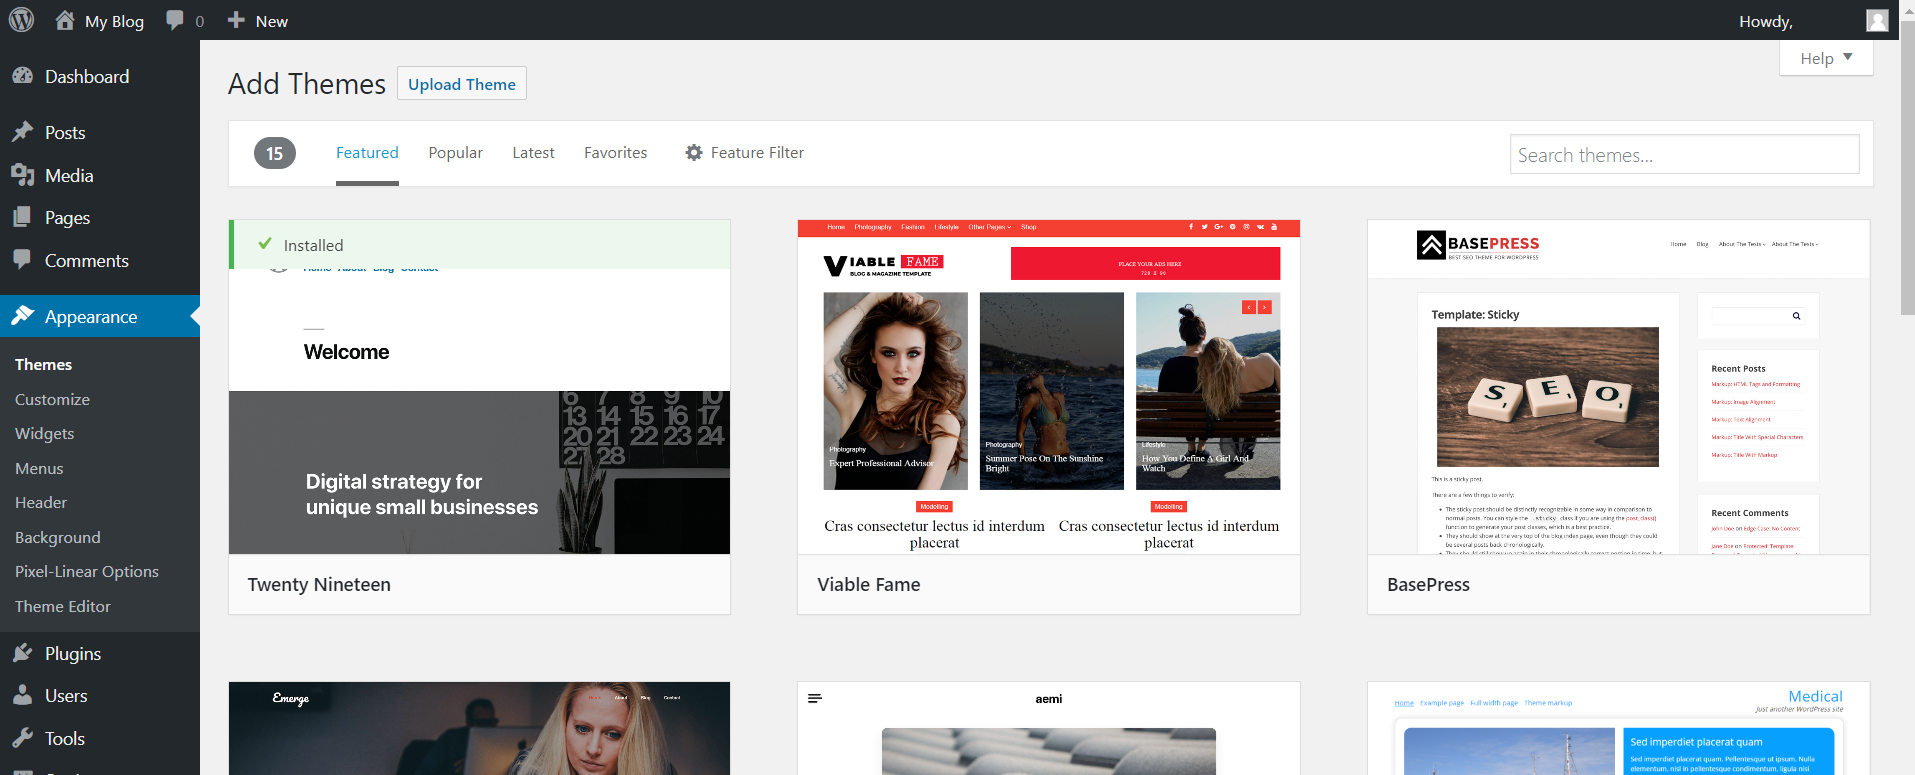
There are many free plug ins in WordPress to set up a child theme. I used the Child Theme Configurator plug in to generate a Child Theme for my current theme. This plug in does quite a few interesting things, but I really just wanted it to generate a child theme for me, which it did. Just as it said on the tin! If you don’t know how to find and install a plug in on your WordPress site, head to my short post called “Adding a PlugIn to your WordPress”.
Once the child theme was generated, you need to activate it in the Appearance/Themes section of the WordPress dashboard. Simply find the theme you have just created and click the “activate” button.
If the process worked correctly, then the site would look exactly the way it looked before. However, now we can edit everything in it without the fear of loosing our edits after the next update or messing up the original template.
Inserting Custom CSS
The next step was to figure out what CSS code to add in the “Additional CSS” section of the customizer.
CSS code is the series of commands that tell a web browser how to present the information to the visitors of the website. Any theme is effectively a line by line instruction to the browser on where to put what, what colors and sizes to use.
Any theme would have several features that can be customised easily through the standard WordPress customizer. However, when it comes to fine tuning a theme, there are inevitably sections of the website that are not covered within the standard customizer.
First step:
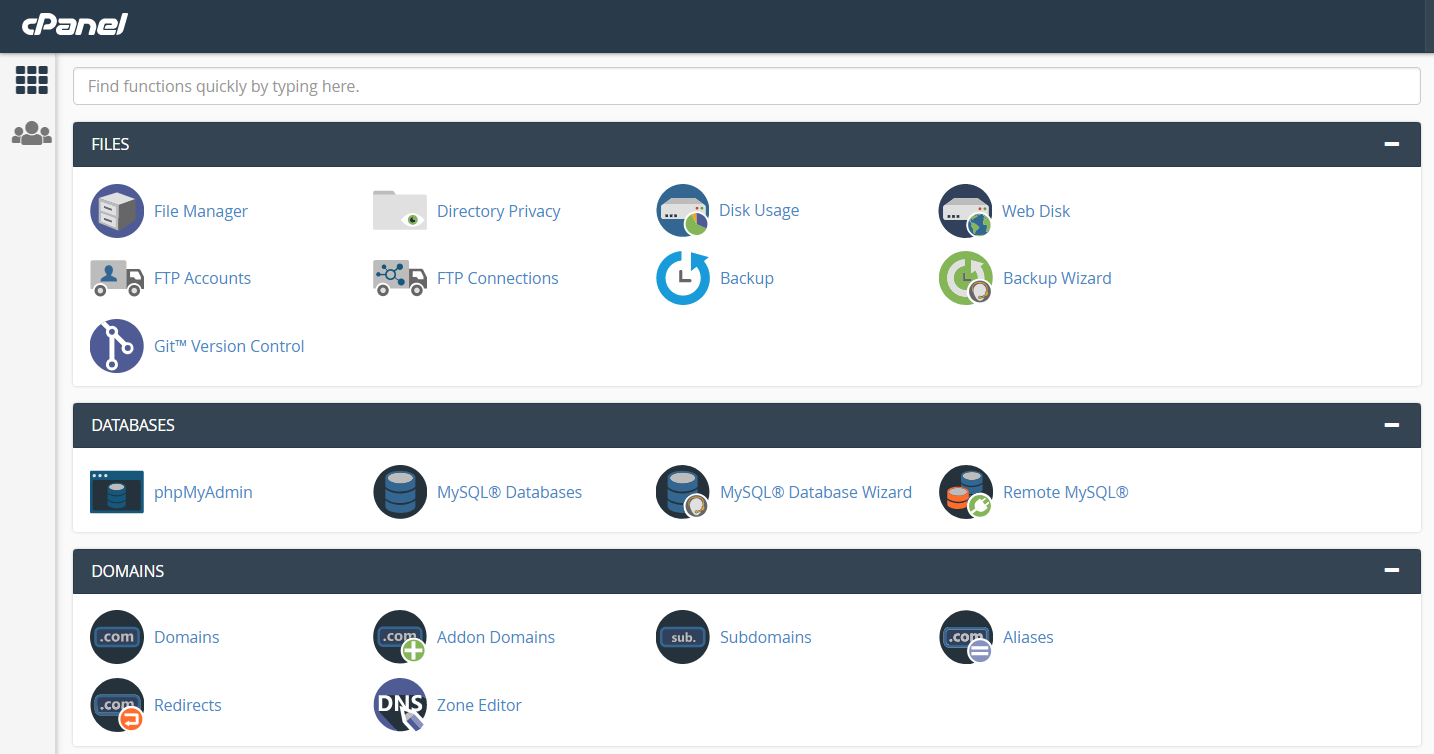
Look into the html code behind your website. While rather intimidating, there is not harm in looking. The way to look behind the curtains of a website is to head to the developer tools in Google Chrome (there are developer tools in other browsers, but I use Chrome for this example).
To open the Developer tab in Chrome, click on the three dots on the right hand side of the top panel, hover over “More Tools”, which will open the next menu. Click on “Developer Tools” to view the code behind the website.
Now go to the element in your website that you would like to change. Right click on the element will open the menu. Select “”Inspect” and check what information Chrome will show you about the element you are investigating.
Second step:
It turned out that the class that was looking after that yellow background area was called .product_category and had a function inside it that did all the counting. The difficulty was that the function output was blocked from editing in CSS. Thankfully, I did not want to edit the output of the function in the first place and simply not showing the output of the function by setting “Display: none” did the trick
Therefore, just to reiterate, the code I eventually used was:
.product-category mark {
display:none;
}
Third step:
Insert the code in the field provided in the Additional CSS customizer tab and press “Publish” to apply the changes. It is very convenient that the customizer shows you the results of changes in real time and so I could see straight away that the code worked.
Hope you found this useful and in the next post I will share how I have tackled the issue of applying the infinite scroll to my website.
PS: Further details on this topic can be found in the following sources, which I used to solve the problem I had:
- https://youtu.be/bAT2ei-6rCY
- https://theme.co/apex/forums/topic/change-class-count-numbers-woocommerce-to-different-colour/


-
Tagged #basicwebdesign, #GaryVeeChallenge, #technical, soapsandroses